Discover the very best Practices for Effective Drywall Repair Work and Installation
The art of drywall fixing and setup requires a blend of skill and precision. Understanding the important tools is important for attaining a seamless coating. Comprehending the step-by-step procedure can make a substantial difference in the result. Appropriate techniques for mudding and taping are additionally essential. What stays is the knowledge of maintenance that guarantees durability. These aspects together produce a sleek end result worth checking out further.
Essential Tools for Drywall Repair Work and Setup
When undertaking drywall repair and installation, having the right devices can substantially enhance the performance and top quality of the work. An energy knife is necessary for reducing drywall sheets specifically, while a drywall saw can help in making more elaborate cuts. Taping knives, available in numerous sizes, are crucial for applying joint compound efficiently and equally. A drywall sander, ideally with a dirt collection feature, assists attain a polished surface, reducing the need for considerable cleanup.
Furthermore, a gauging tape guarantees accurate dimensions, and a degree makes certain that setups are straight and plumb. Security equipment, consisting of dust masks and goggles, should not be forgotten to secure against particles and dust. A stud finder aids in situating framing members, guaranteeing protected installation. By gearing up oneself with these necessary tools, the fixing and setup procedure becomes extra workable and leads to a professional-quality result.

Step-by-Step Overview to Patching Holes
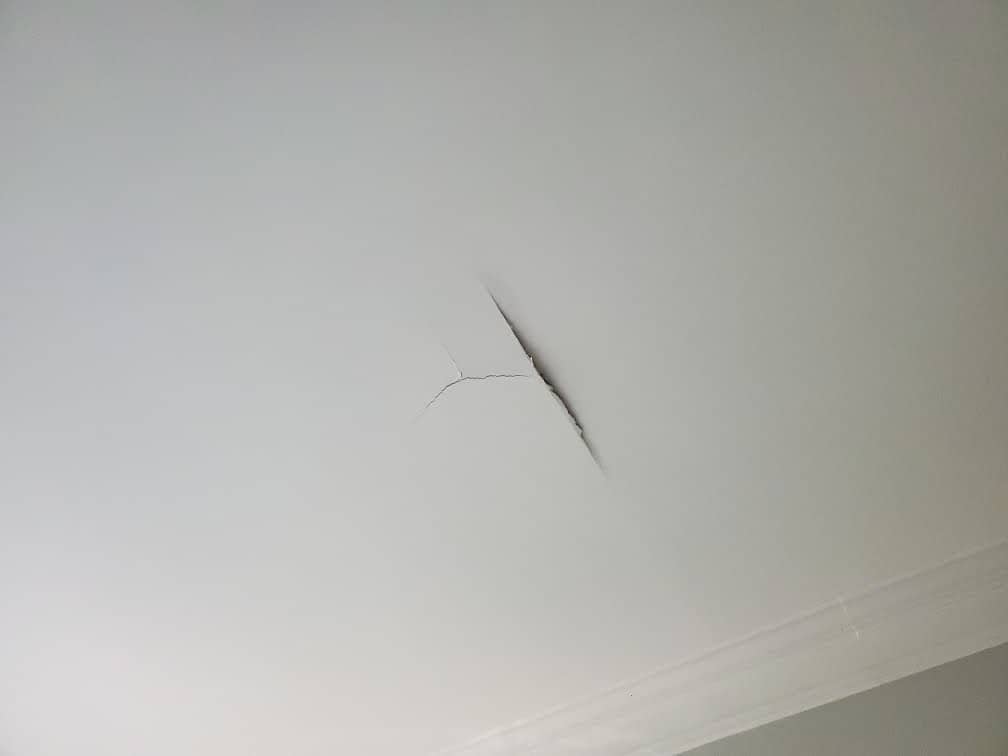
Patching holes in drywall needs a methodical method to guarantee a seamless repair. First, the location around the hole must be cleansed and any type of loosened debris removed. For small holes, a putty knife can be used to use a lightweight spackle, pressing it right into the hole and smoothing the surface area. After it dries, fining sand is vital to develop a flat surface. For larger holes, a spot of drywall may be needed. This involves reducing a piece of drywall somewhat bigger than the hole, protecting it to the wall with screws, and using joint substance to cover the seams. When the substance dries, it must be fined sand smooth. Ultimately, topping the patched location before paint will certainly guarantee an also surface. Following these actions will result in a professional-looking fixing that blends seamlessly with the bordering wall.
Strategies for Smooth Drywall Installation
Attaining smooth drywall setup demands careful preparation and execution. It is necessary to determine and reduce drywall sheets properly to minimize voids. Utilizing an energy blade, installers need to rack up the board before snapping it along the cut line, making sure tidy sides. Effectively straightening the sheets is vital; starting from the top and working down helps maintain uniformity.
Fastening drywall to the studs requires consistent spacing, commonly every 16 inches, making use of screws instead of nails for far better hold. This approach minimizes the risk of stands out gradually. Furthermore, startling the joints in between sheets improves structural stability and decreases the visibility of joints.
Utilizing the best thickness of drywall for specific locations-- such as moisture-resistant kinds in shower rooms-- more contributes to a perfect surface. Complying with these strategies will certainly bring about a professional-looking and smooth installation, setting the stage for the succeeding ending up procedures.
Ending Up Touches: Taping and Mudding
Ending up touches, such as see this site mudding and taping, play a necessary duty in attaining a refined drywall surface. Taping entails using a slim strip of drywall tape over the joints and joints, making certain a smooth look. This procedure assists protect against splits and produces a solid bond in between drywall sheets. It is crucial to select the right kind of tape, with paper and fiberglass harmonize being one of the most usual alternatives.
Mudding, or using joint compound, follows taping. This compound completes gaps and ravel the surface for an uniform coating. It is typically applied in multiple layers, with each layer needing to completely dry prior to sanding. Correct strategy includes feathering the sides to blend the compound right into the bordering drywall, reducing presence.
When finished properly, taping and mudding enhance both the architectural and aesthetic integrity of the drywall setup, leading to a professional-quality surface.
Tips for Maintaining Your Drywall After Setup
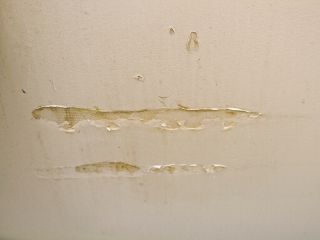
Additionally, keeping a consistent interior humidity level can protect against warping or mold growth. Using a dehumidifier in damp locations, like basements, is suggested. It's likewise beneficial to occasionally paint locations that reveal wear, as this safeguards the underlying product. When relocating furnishings or mounting components, caution ought to be worked out to avoid harming the drywall. By following these upkeep tips, home owners can additional reading extend the life of their drywall, safeguarding it stays an eye-catching feature of their interiors.
Often Asked Inquiries
What Safety And Security Gear Is Required for Drywall Fixing and Setup?
For drywall fixing and setup, crucial security equipment includes security goggles to protect eyes, dust masks to avoid inhalation of bits, handwear covers for hand security, and knee pads for comfort during prolonged kneeling. Interior Painting.
Just how Do I Establish the Drywall Density Needed for My Task?
To establish the drywall density needed for a job, one must think about the wall surface's structural demands, local building codes, and the planned use of the area, usually selecting 1/2-inch or 5/8-inch drywall.
Can I Repair Drywall Without Removing Furniture From the Area?
Yes, drywall can be fixed without eliminating furnishings from the room. Careful planning and safety actions can reduce mess, permitting for reliable repair work while keeping surrounding products safe from dirt and damage throughout the process.
What Kinds of Drywall Are Ideal for Various Settings?
Moisture-resistant drywall is excellent for kitchen areas and restrooms, while soundproof drywall suits shared wall surfaces in apartment or condos. Fire-rated drywall is best for garages, and additional info conventional drywall works well in basic living areas, making certain durability and viability for different environments.
For how long Does It Consider Drywall Mud to Dry Totally?
Drywall mud usually takes 24 to 48 hours to completely dry totally, depending on variables like humidity and temperature level (Drywall Installation Ogden Utah). Thicker applications might need longer drying out times, while thinner layers can dry quicker. Correct ventilation help drying out
The art of drywall repair and installment calls for a blend of skill and precision. When taking on drywall repair service and installation, having the right tools can significantly improve the effectiveness and high quality of the work. An energy knife is essential for reducing drywall sheets specifically, while a drywall saw can aid in making more intricate cuts. Accomplishing seamless drywall installation demands careful planning and implementation. Moisture-resistant drywall is ideal for shower rooms and cooking areas, while soundproof drywall fits shared walls in homes.